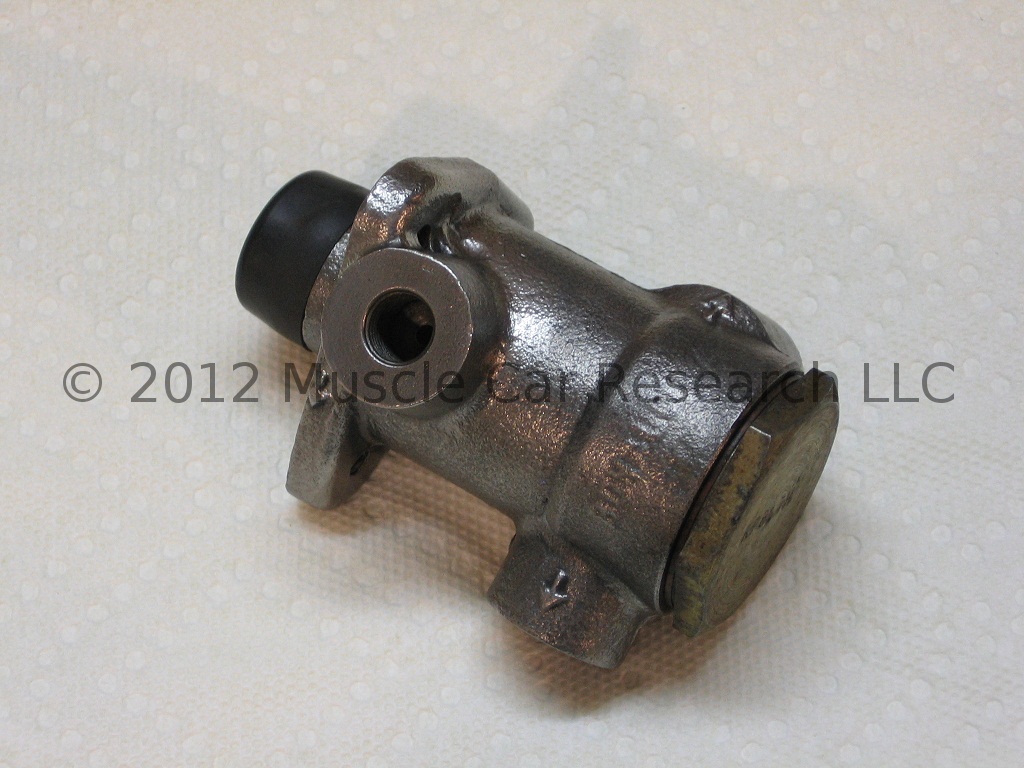
This Bonaldi brake pressure control valve (sometimes referred to as a "proportioning" valve) was removed from a 1974 de Tomaso Pantera. The original Ford part number is D26Y-2B091-A. Unlike the valves used on many other cars, this valve is used to reduce brake fluid pressure to the front brake calipers. You can click on the pictures below to see larger versions of the images.
These valves typically fail when corrosion forms between an internal piston and the end of the cast iron valve body that's protected with a rubber dust cap, restricting piston movement. Once the piston is stuck the valve will fail to control fluid pressure, and unpredictable brake system performance is the result.
I'm going to disassemble this valve to see if it's rebuildable. Follow along as I tear it down! Tools needed:
|
|
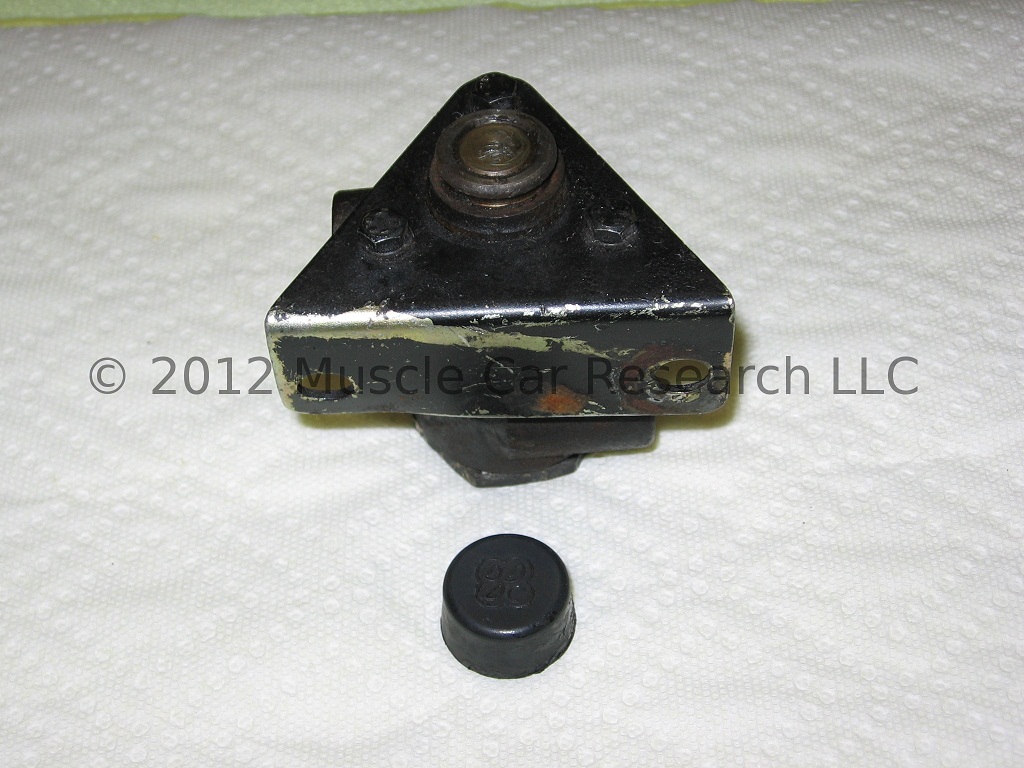
Start by removing the rubber dust cap from the end of the valve body. Be careful when removing the cap because it's not currently being reproduced and aftermarket replacements don't look quite the same. I may consider reproducing the cap if there's enough demand for the part. Note the end of the rod that's protruding from the valve (also note that this isn't the same valve I used for the other pictures - you can also see the mounting bracket in this shot).
Now flip the valve over and remove the plug from the end of the valve body using your wrench. If the valve is rusty it make take considerable torque to remove the plug, so be careful not to strip it. Note the copper sealing washer on the plug. Look inside the valve and you'll see a steel ring and the top of a piston assembly. The copper washer will be needed in a rebuild kit.

Flip the valve over again and push on the end of the protruding rod using the nail set and small hammer. As the rod is pushed into the valve the steel ring and the piston assembly will be forced out of the valve. Continue pushing gently (tapping with the hammer as required) until the piston assembly can be removed.

Disassemble the piston assembly by removing the individual parts in order. It may take some force to stretch the large seal over the small ridge on the piston.
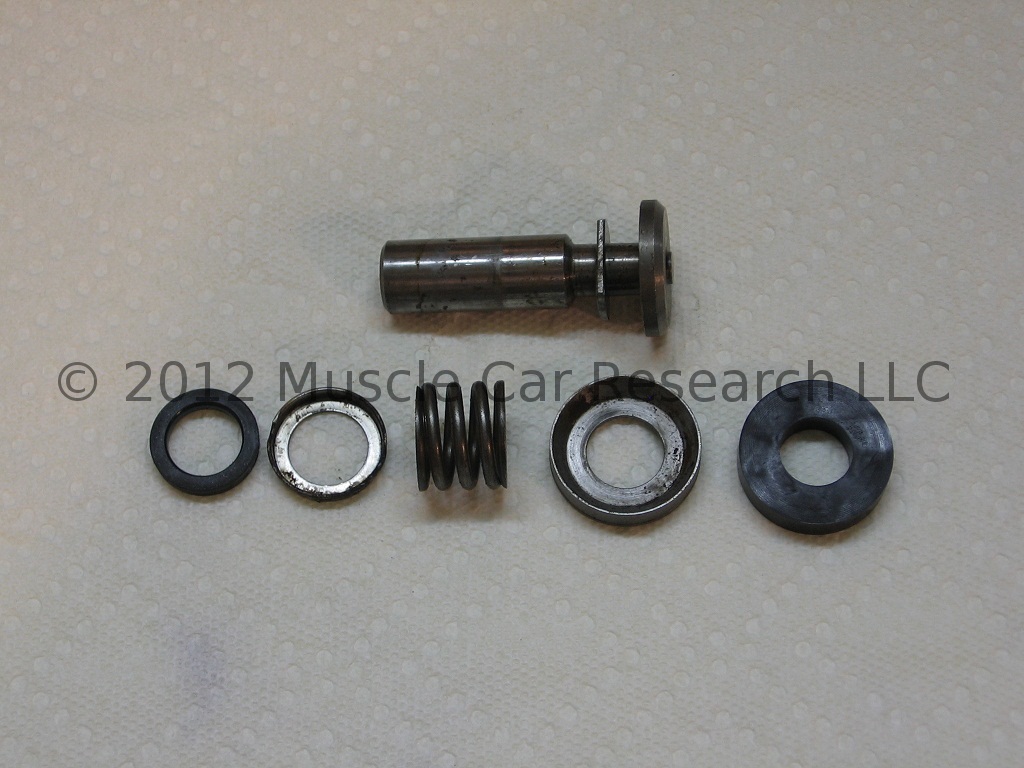
Note the two rubber seals. Both will need to be included in a rebuild kit. If these internal parts are very rusty it may not be possible to rebuild your valve. Replacement valves can be purchased from vendors like Pantera Parts Connection of Nevada and Panteras by Wilkinson of California.
This valve is similar to an earlier D16Y-2B091-A valve that includes a "T" fitting and fluid port in the large plug/nut. The piston assembly is slightly different, but both valves use the same seals and copper sealing washer.
Muscle Car Research offers a rebuild seal kit for this valve. Complete rebuild instructions are available in another technical article.
- Log in to post comments