This document describes how to rebuild the 1967 - 1973 GM brass brake pressure differential switch using a new seal and spring kit available from Muscle Car Research LLC. The switch pictured is a 3956727 switch from a 1969 Chevrolet Corvette, but the procedure is similar for other brass switches made by Weatherhead. Tools needed:
|
|
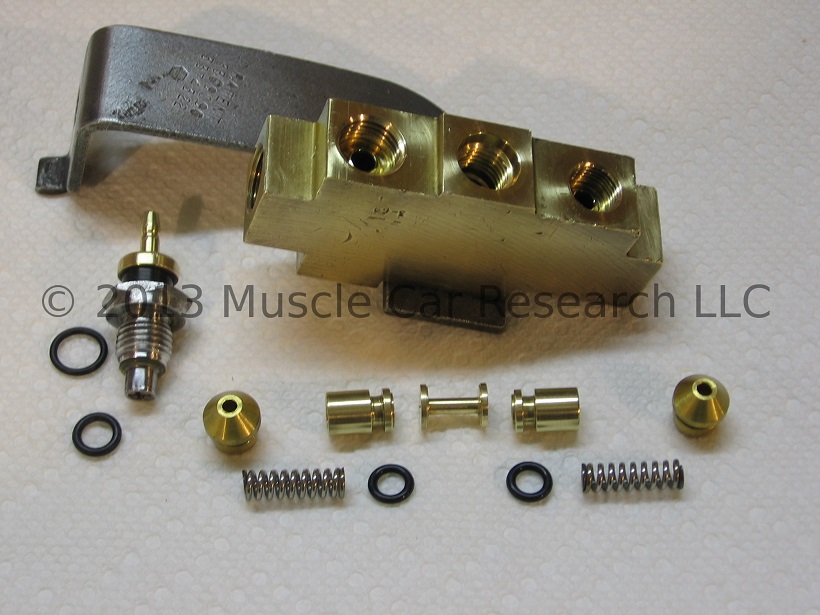
The rebuild kit provided by Muscle Car Research LLC includes the following parts:
- Springs
- Spring cup o-ring seals
- Switch o-ring seals
- Brass tube seats
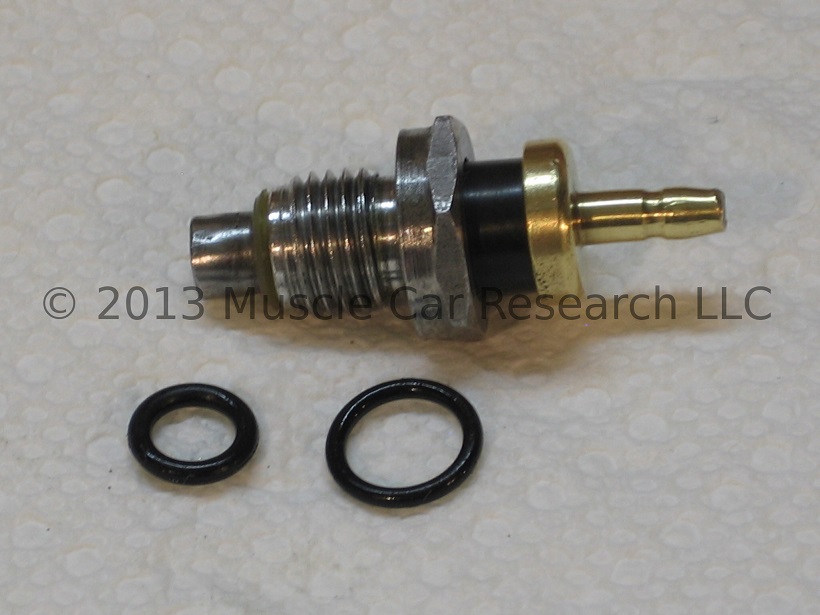
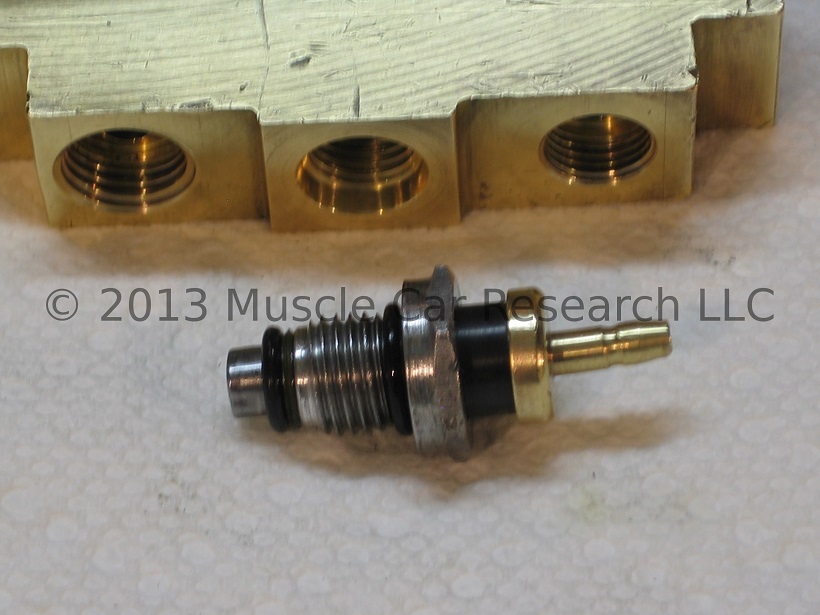
We'll start with the internal plunger. Install the new o-ring seals on the spring cups using the dental pick to gently pull the seals into place. It helps to lubricate the seals with clean brake fluid. Note the orientation of the spring cups and plunger.
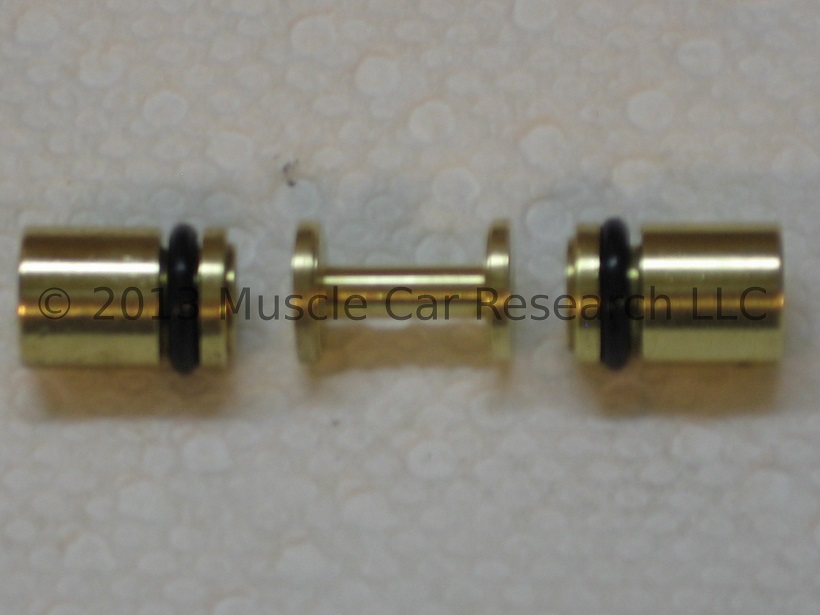
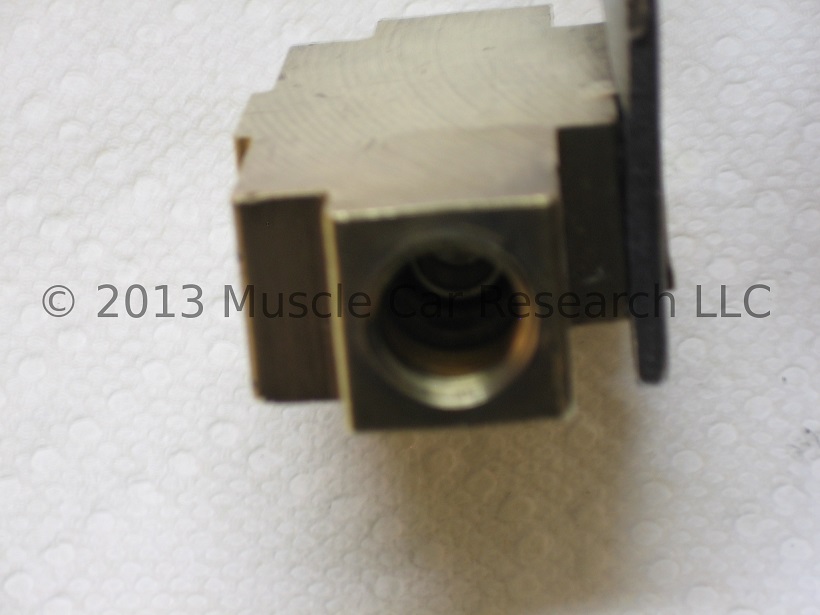
Install one of the spring cups into the end of the switch body. The flat side goes in first.

Gently push the cup into place. You'll feel it give a little after the o-ring seats in the center of the body. Push only enough to seat the cup. If you can see the cup when looking through the middle switch port you've pushed it in too far.
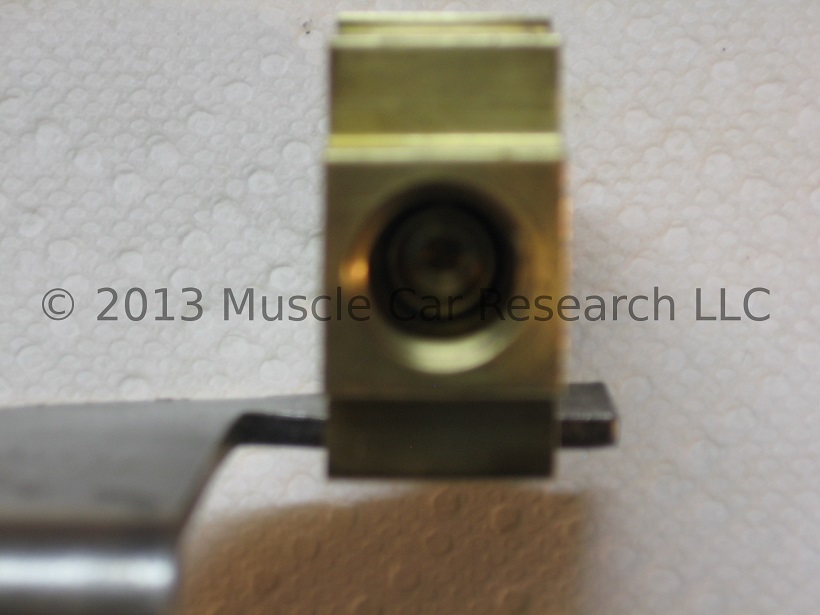
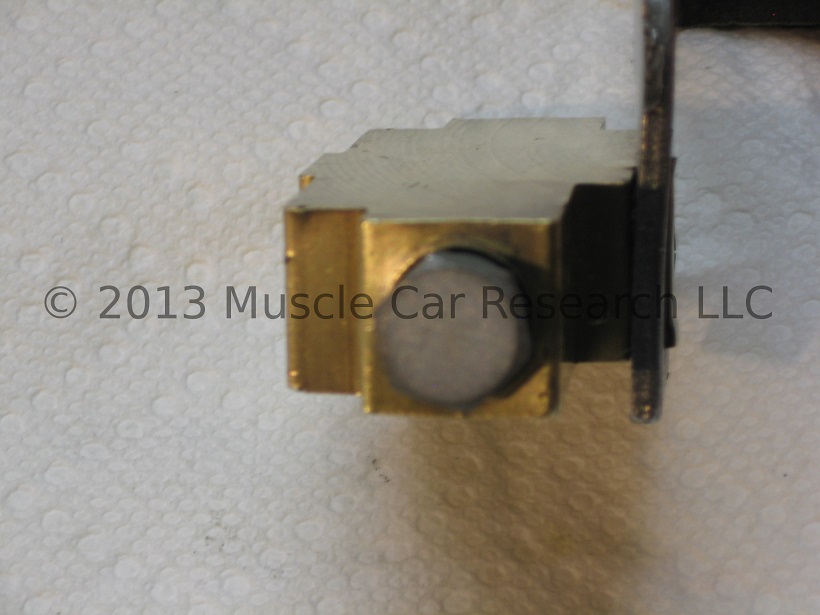
Drop the plunger into the tee from the other open end of the tee. You should be able to see the thin, middle portion of the plunger through the switch port. Insert the second spring cup after installing the plunger, and again, note the orientation of the cup.
Again, press the cup gently into place. After you've seated the o-ring you should still be able to see the thin portion of the plunger through the switch port.
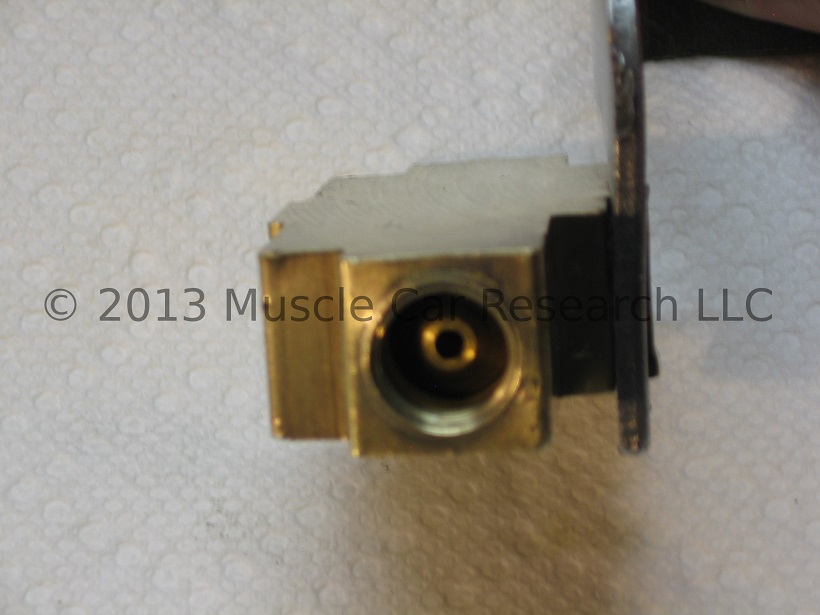
Now you need to install the springs and tube seats. Start by installing one of the springs into the exposed spring cup.

Lay the seat into the fluid port on top of the spring. The seat will be loose because it needs to be pressed back into place. Press the seat into place using a brake line fitting or inverted flare plug.

Press the seat into place using a brake line fitting or inverted flare plug. Tighten using an appropriately-sized wrench until the fitting or plug bottoms out.
Remove the fitting or plug and confirm that the tube seat is fully seated. Do the other side the same way.
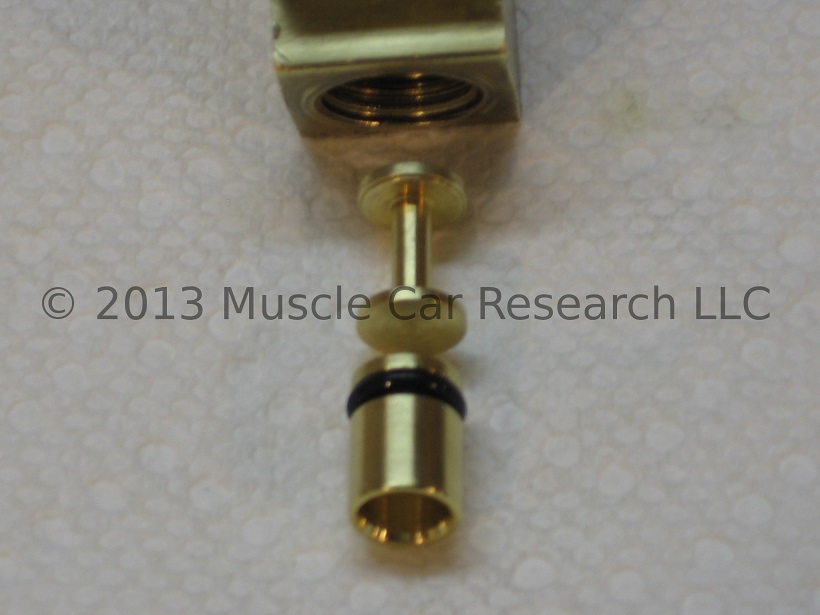
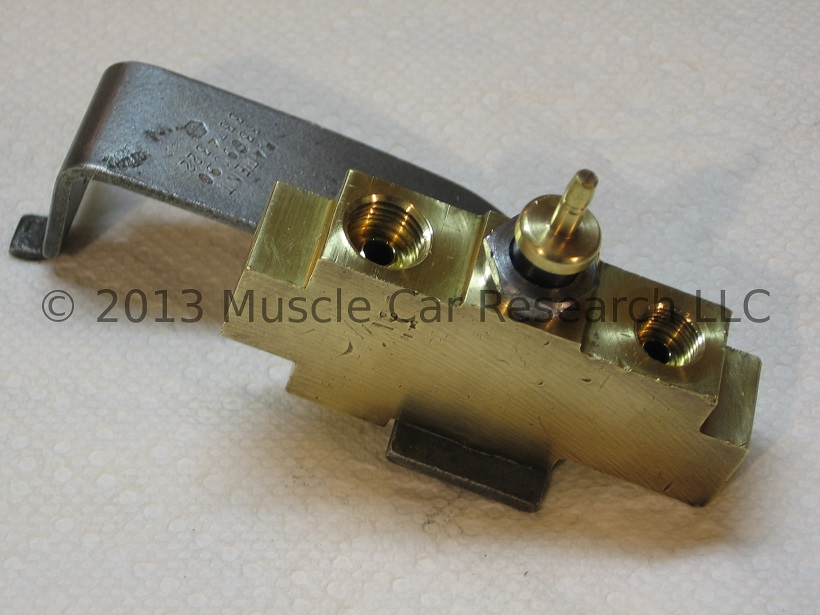
Now let's take care of the switch terminal. You need the last two o-rings from the kit.
Lubricate the o-rings with clean brake fluid. Install them on the terminal using your dental pick. be careful to avoid twisting them.
Screw the terminal into the body of the switch - and you're done!
Now you can reinstall the switch in the car and reconnect the brake lines to the switch. Start each line by hand as best you can to ensure that the fittings are threading in straight and smooth. Be careful - it's easy to cross-thread the fittings and damage the soft brass threads. Tighten each fitting with a flare nut wrench. You may need to tighten, loosen, and retighten each fitting multiple times to obtain a leak-free seal. Add brake fluid, bleed the brakes, and check for leaks.
The bracket used on this switch was originally plated with a zinc dichromate or yellow cadmium finish. If you're rebuilding the switch for use on a concours show car you may want to remove the bracket from the switch by carefully reforming the staked brass tab that holds the bracket in place. After plating, the bracket can be reinstalled by restaking the brass tab with a ball peen hammer. You may also try having the whole assembly plated (be sure to plug the fluid ports!) and then removing the plating from the brass body using steel wool.
- Log in to post comments